

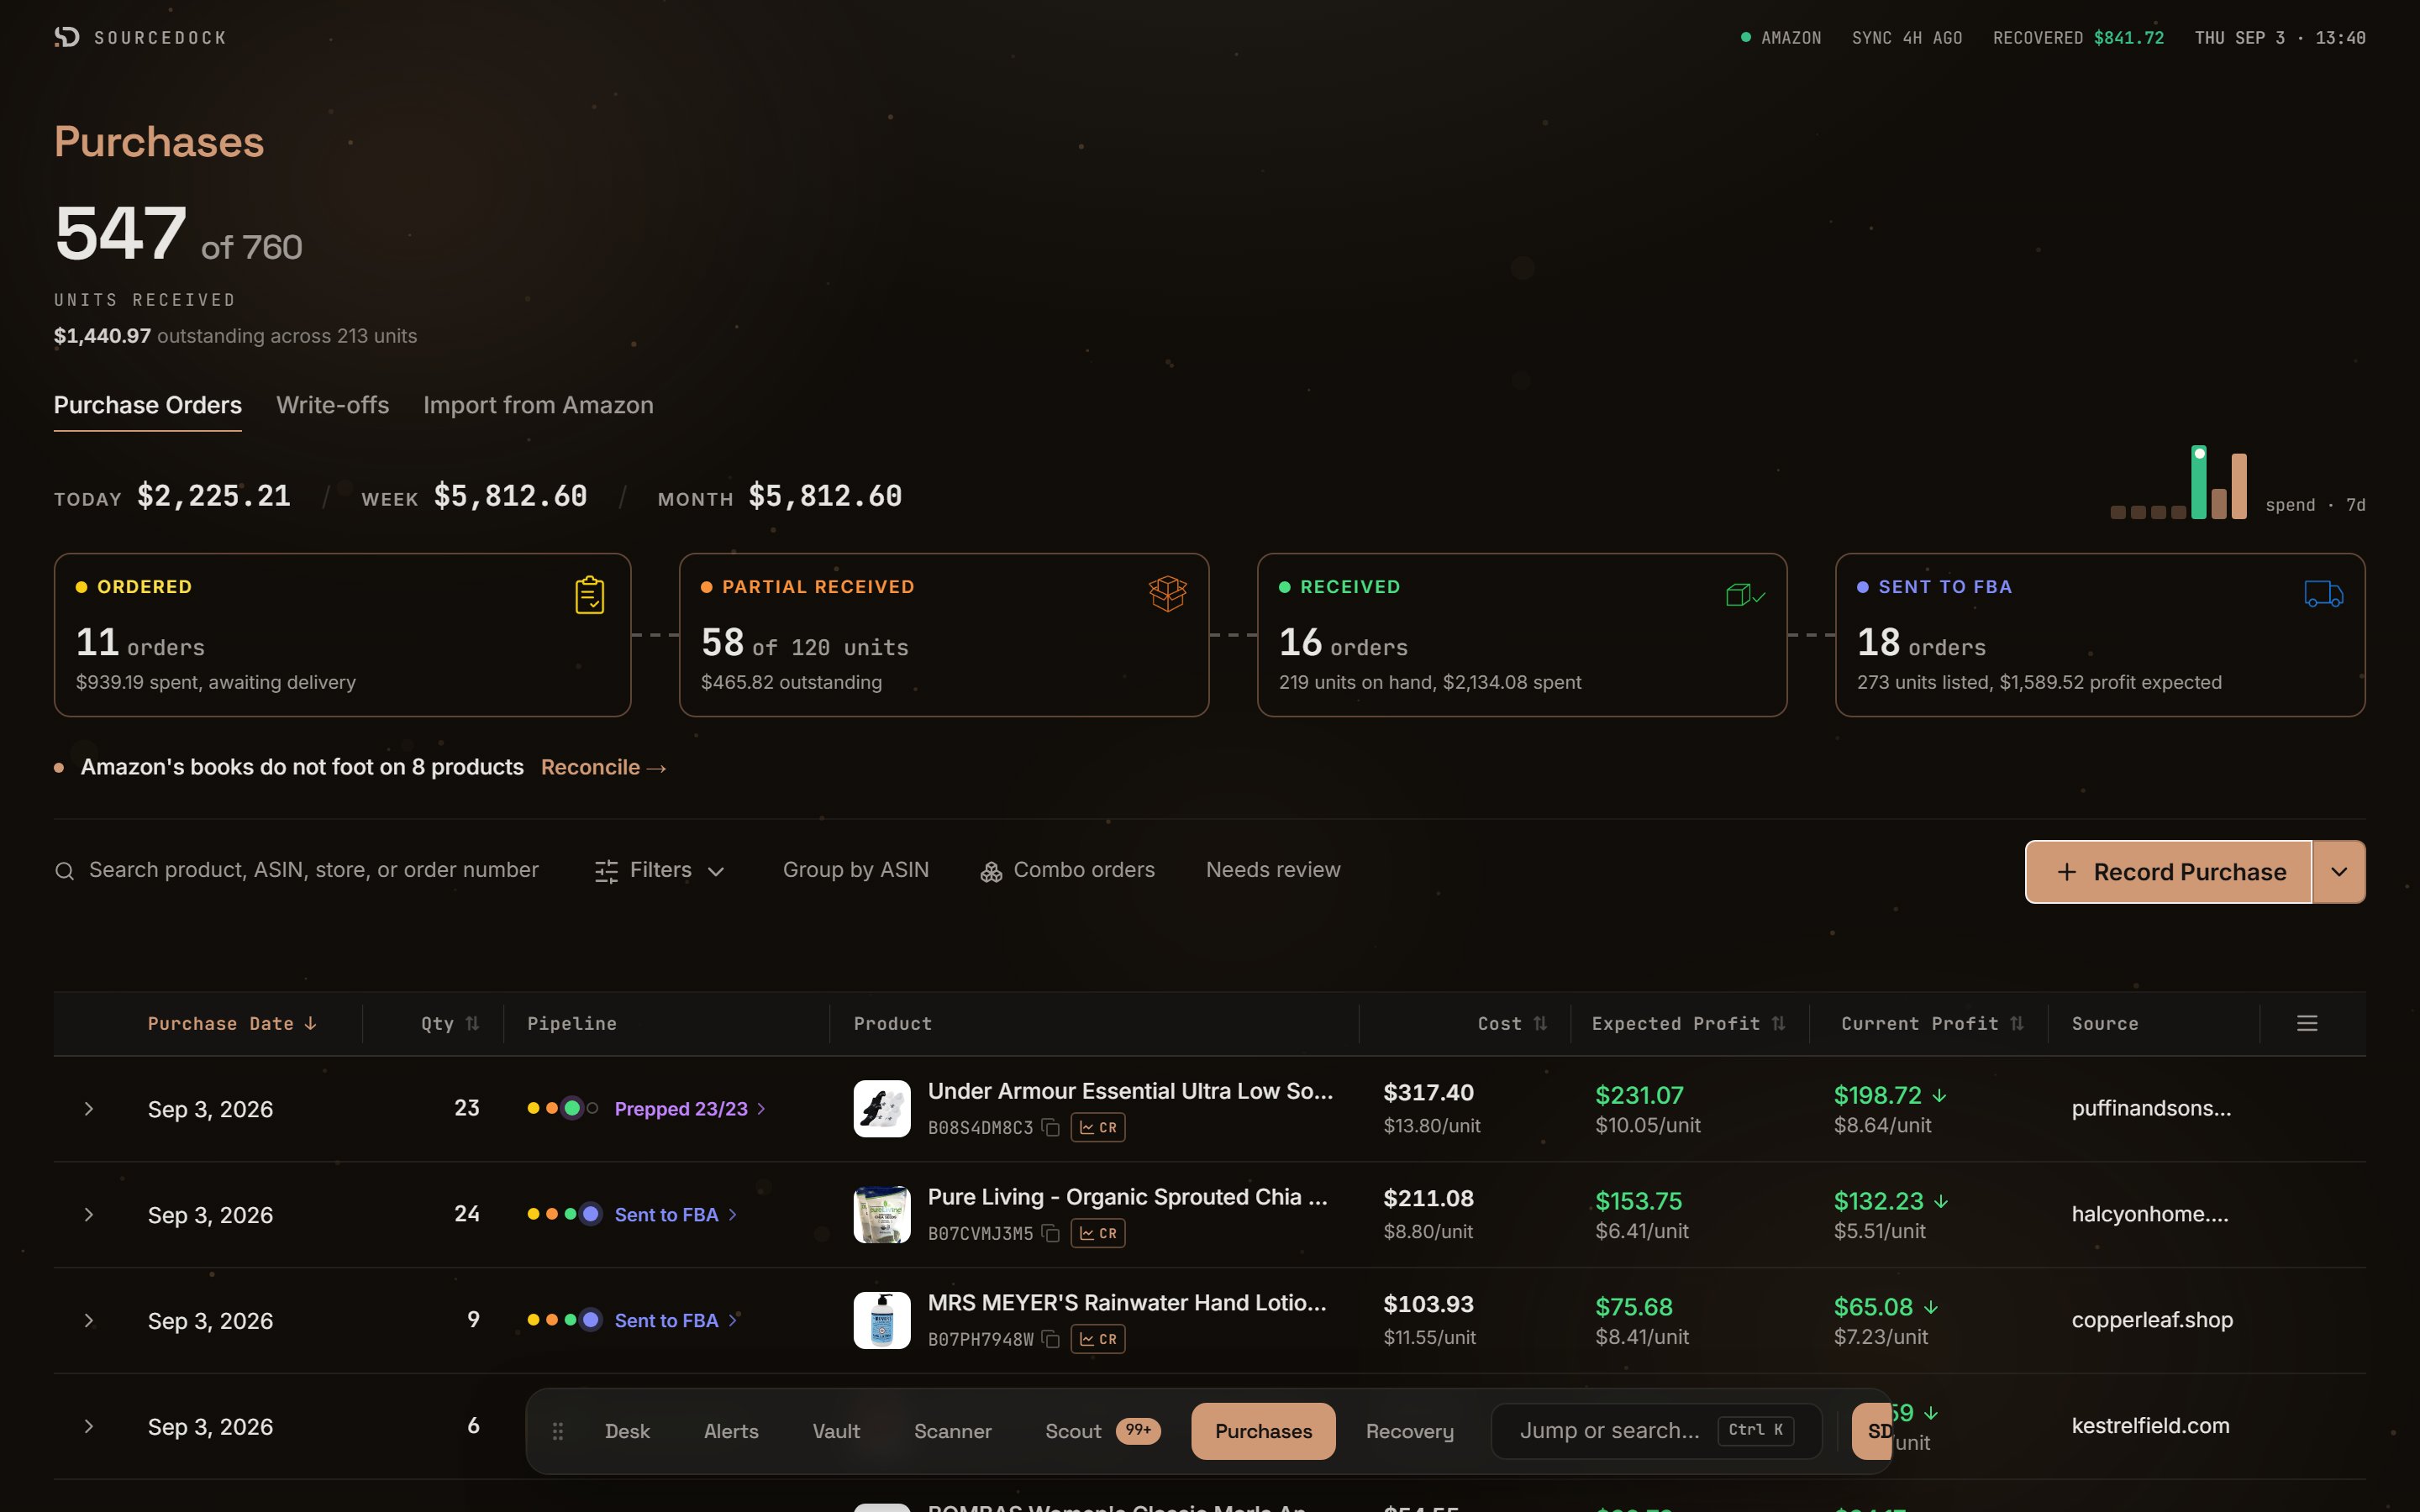
The Purchases page in its default layout
The receipts headline
The big number is Units received: units that arrived, out of all units ordered. Under it is the money still tied up in units not yet in. When every unit is in, it says “Everything ordered has arrived”. Before your first order, it says “Nothing ordered yet”. The figures count every purchase, not only the rows on screen.
Units received, with the money still outstanding
Record a purchase
You record a purchase from prospects in your Vault. A prospect is a product you saved with its ASIN and buy cost.1
Open the sheet
Click Record Purchase. A side panel opens with two steps: Pick and Costs.
2
Pick products
Tick the prospects you bought. Search by ASIN, title, or brand. For a product not in your Vault, use Quick add ASIN. Type its ASIN and buy cost, then click the plus button. Then click Next.
3
Enter costs
Set the quantity and cost for each line. Type the cost per unit or the line total. The other box fills in. The bar at the bottom shows products, units, total cost, and estimated profit.
4
Add order details
These are optional: purchase date, order number, and a note. The date starts as today.
5
Save
Click Record. Each product becomes its own purchase row. Rows from the same checkout stay linked as a combo order.
Cost per unit is the landed cost: the product price plus its share of shipping and tax. The shipping and tax boxes in the edit sheet are for reference only. They do not add to your spend.
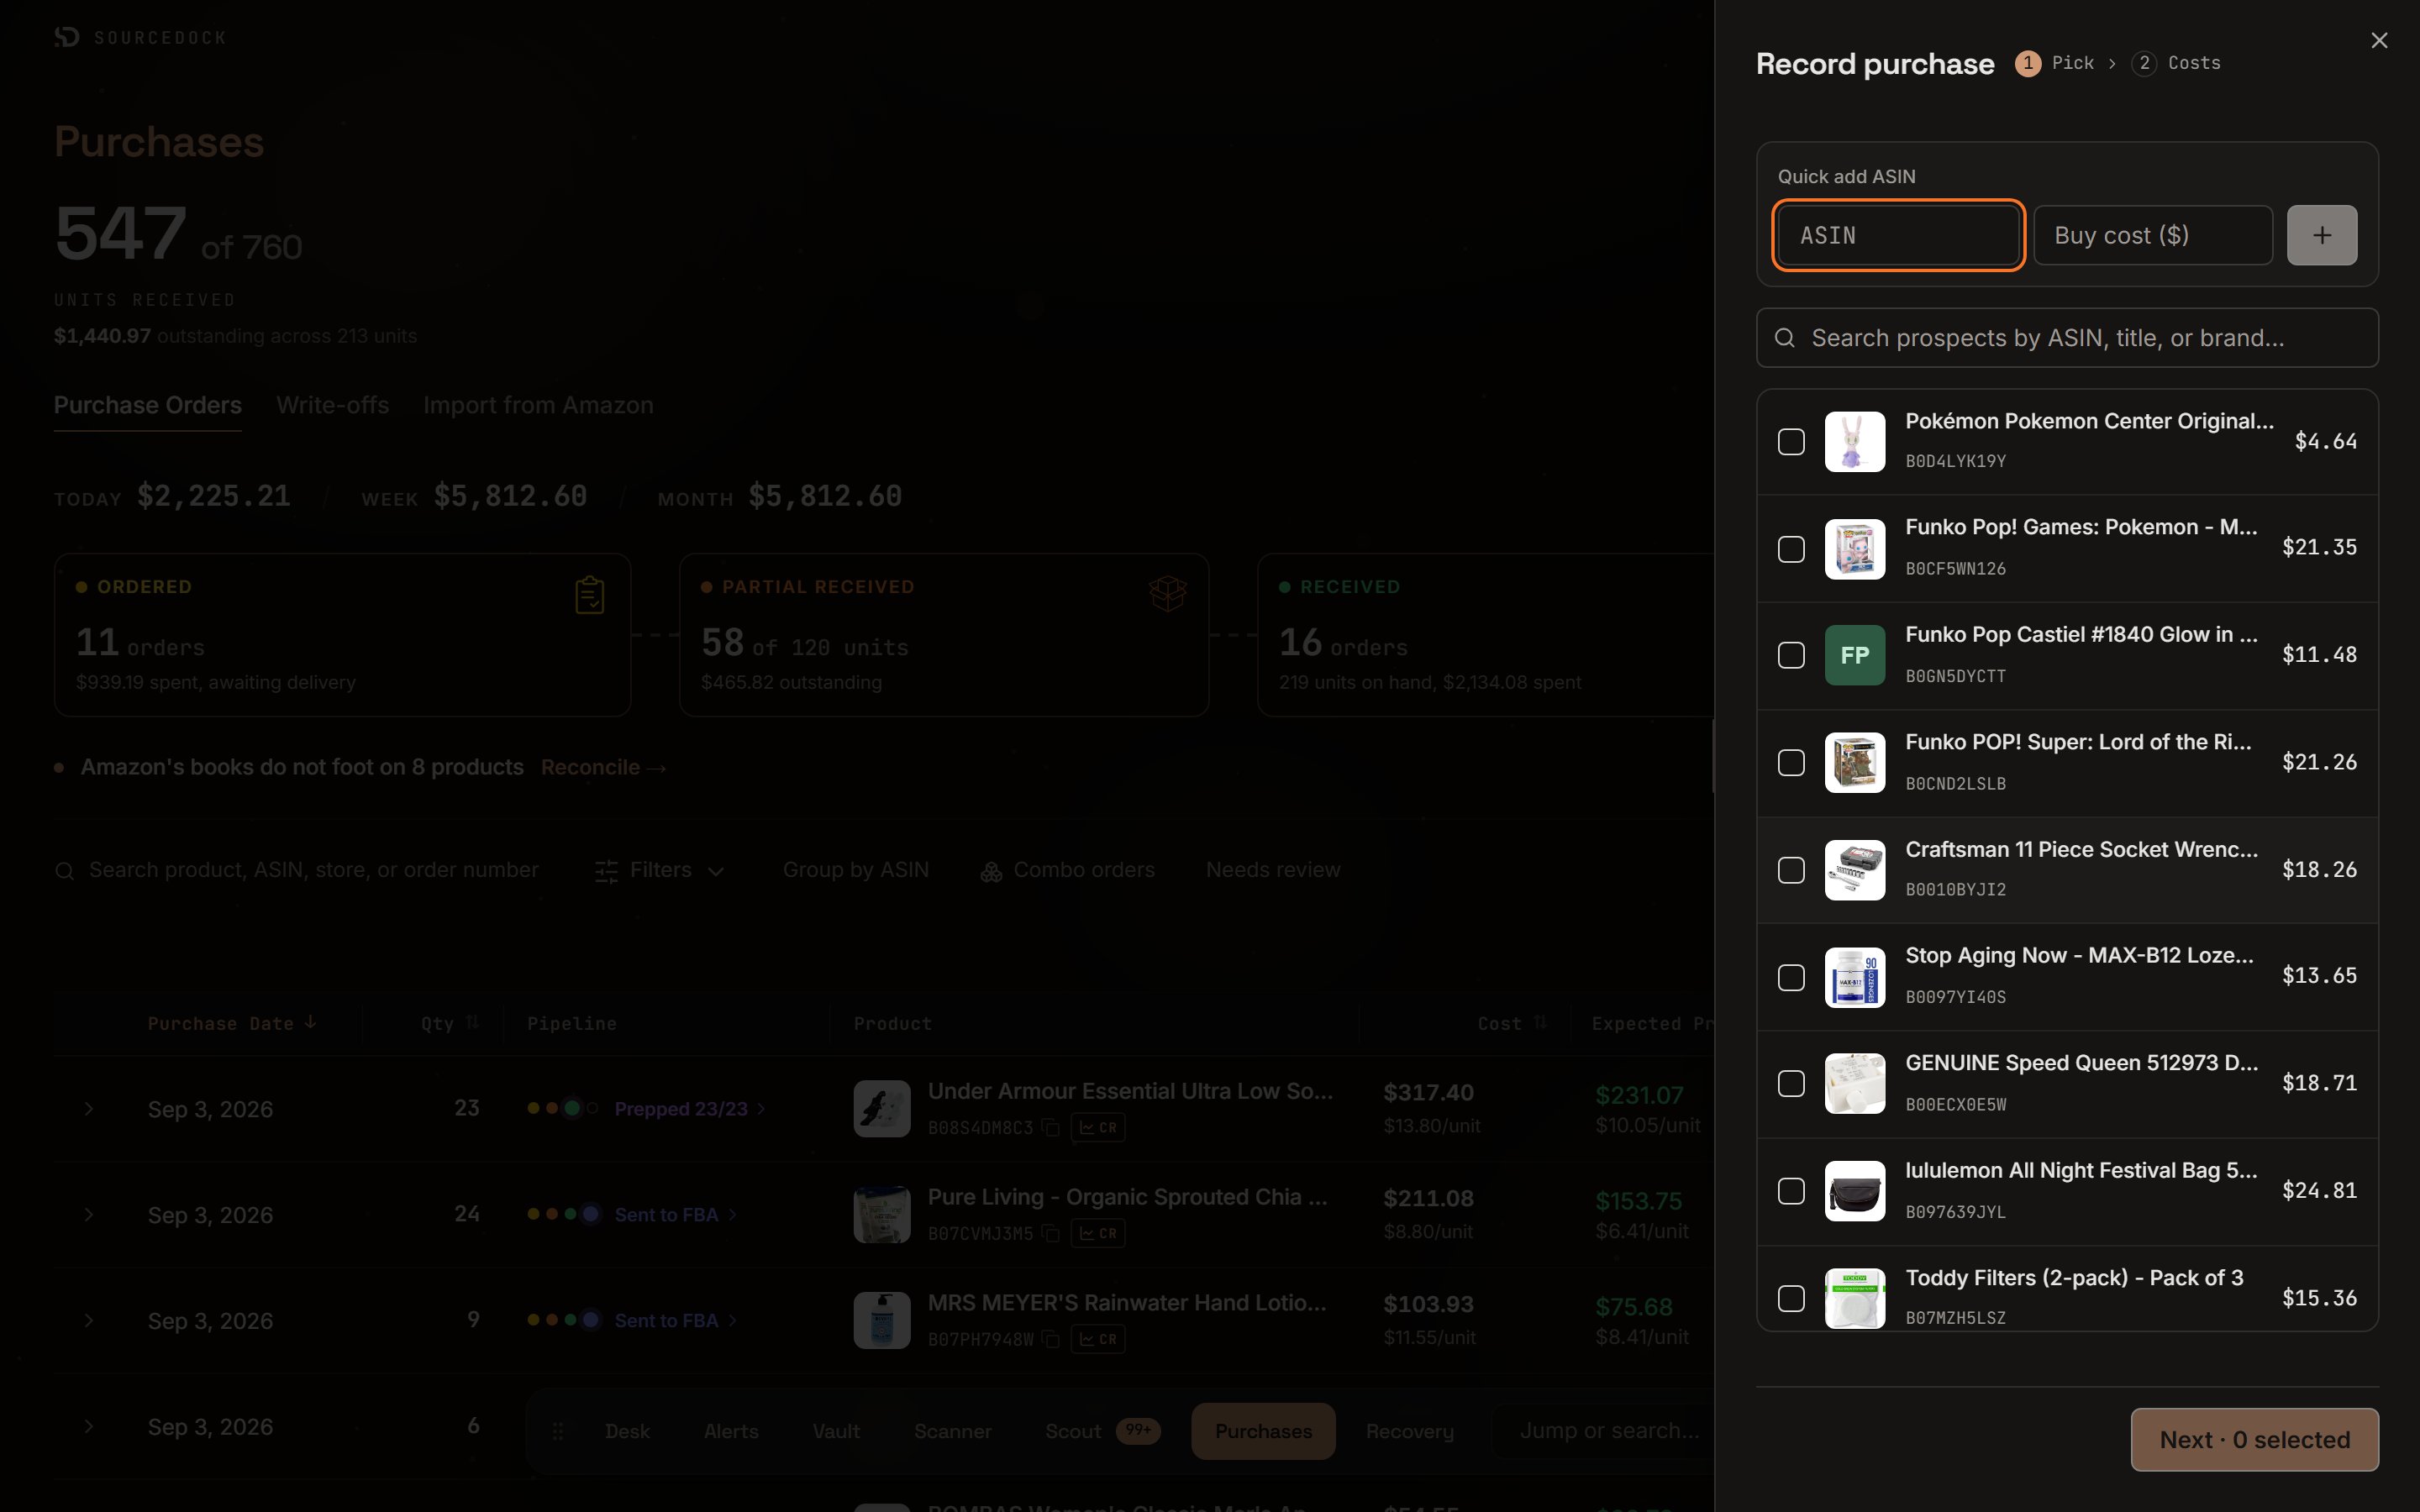
The Record purchase sheet
Order statuses
Each order has one status.Change a status
Click the status chip on a row. Under Move to, the menu lists Ordered, Partial Received, Received, and Sent to FBA. Pick any of them in any order. Shipped and Prepped are old stops. Old rows can sit there, but you cannot move a row into them. The menu has these other items.
In the default layout, a toast says “Moved to” the new status, with an Undo button. Cancelled rows are hidden by default. In the classic layout, tick Show cancelled to see them.
Receive items and record a shortfall
1
Open the count dialog
Click the status chip and choose Record what arrived. Picking Partial Received opens the same dialog.
2
Count each line
Type how many units of each product arrived. Click All to fill one line, or Receive all to fill every line. The tally at the top shows units received out of units ordered, and how many are “still out”.
3
Save
Click Save count. If every unit is in, the button reads Save and mark Received and the order moves to Received. A short count sets it to Partial Received. An order already at Received, Prepped, or Sent to FBA keeps its status.
Record a shortfall
Sometimes units never come. Under that line, click Resolve with the number missing. Pick what happened and set how many units. Add a refund if the store gave money back, and a note if you want. Click Save. Those units stop counting as missing and move to the Write-offs tab. If units arrived and then got lost or broken before FBA, click Report lost units… instead.
The first four are for units that never came in. The last two are for units you counted in and then lost.
Write-offs here are store-side only. Units lost or damaged at Amazon are tracked in Capital Recovery.
The default layout
The default layout is a desk built around the order lifecycle.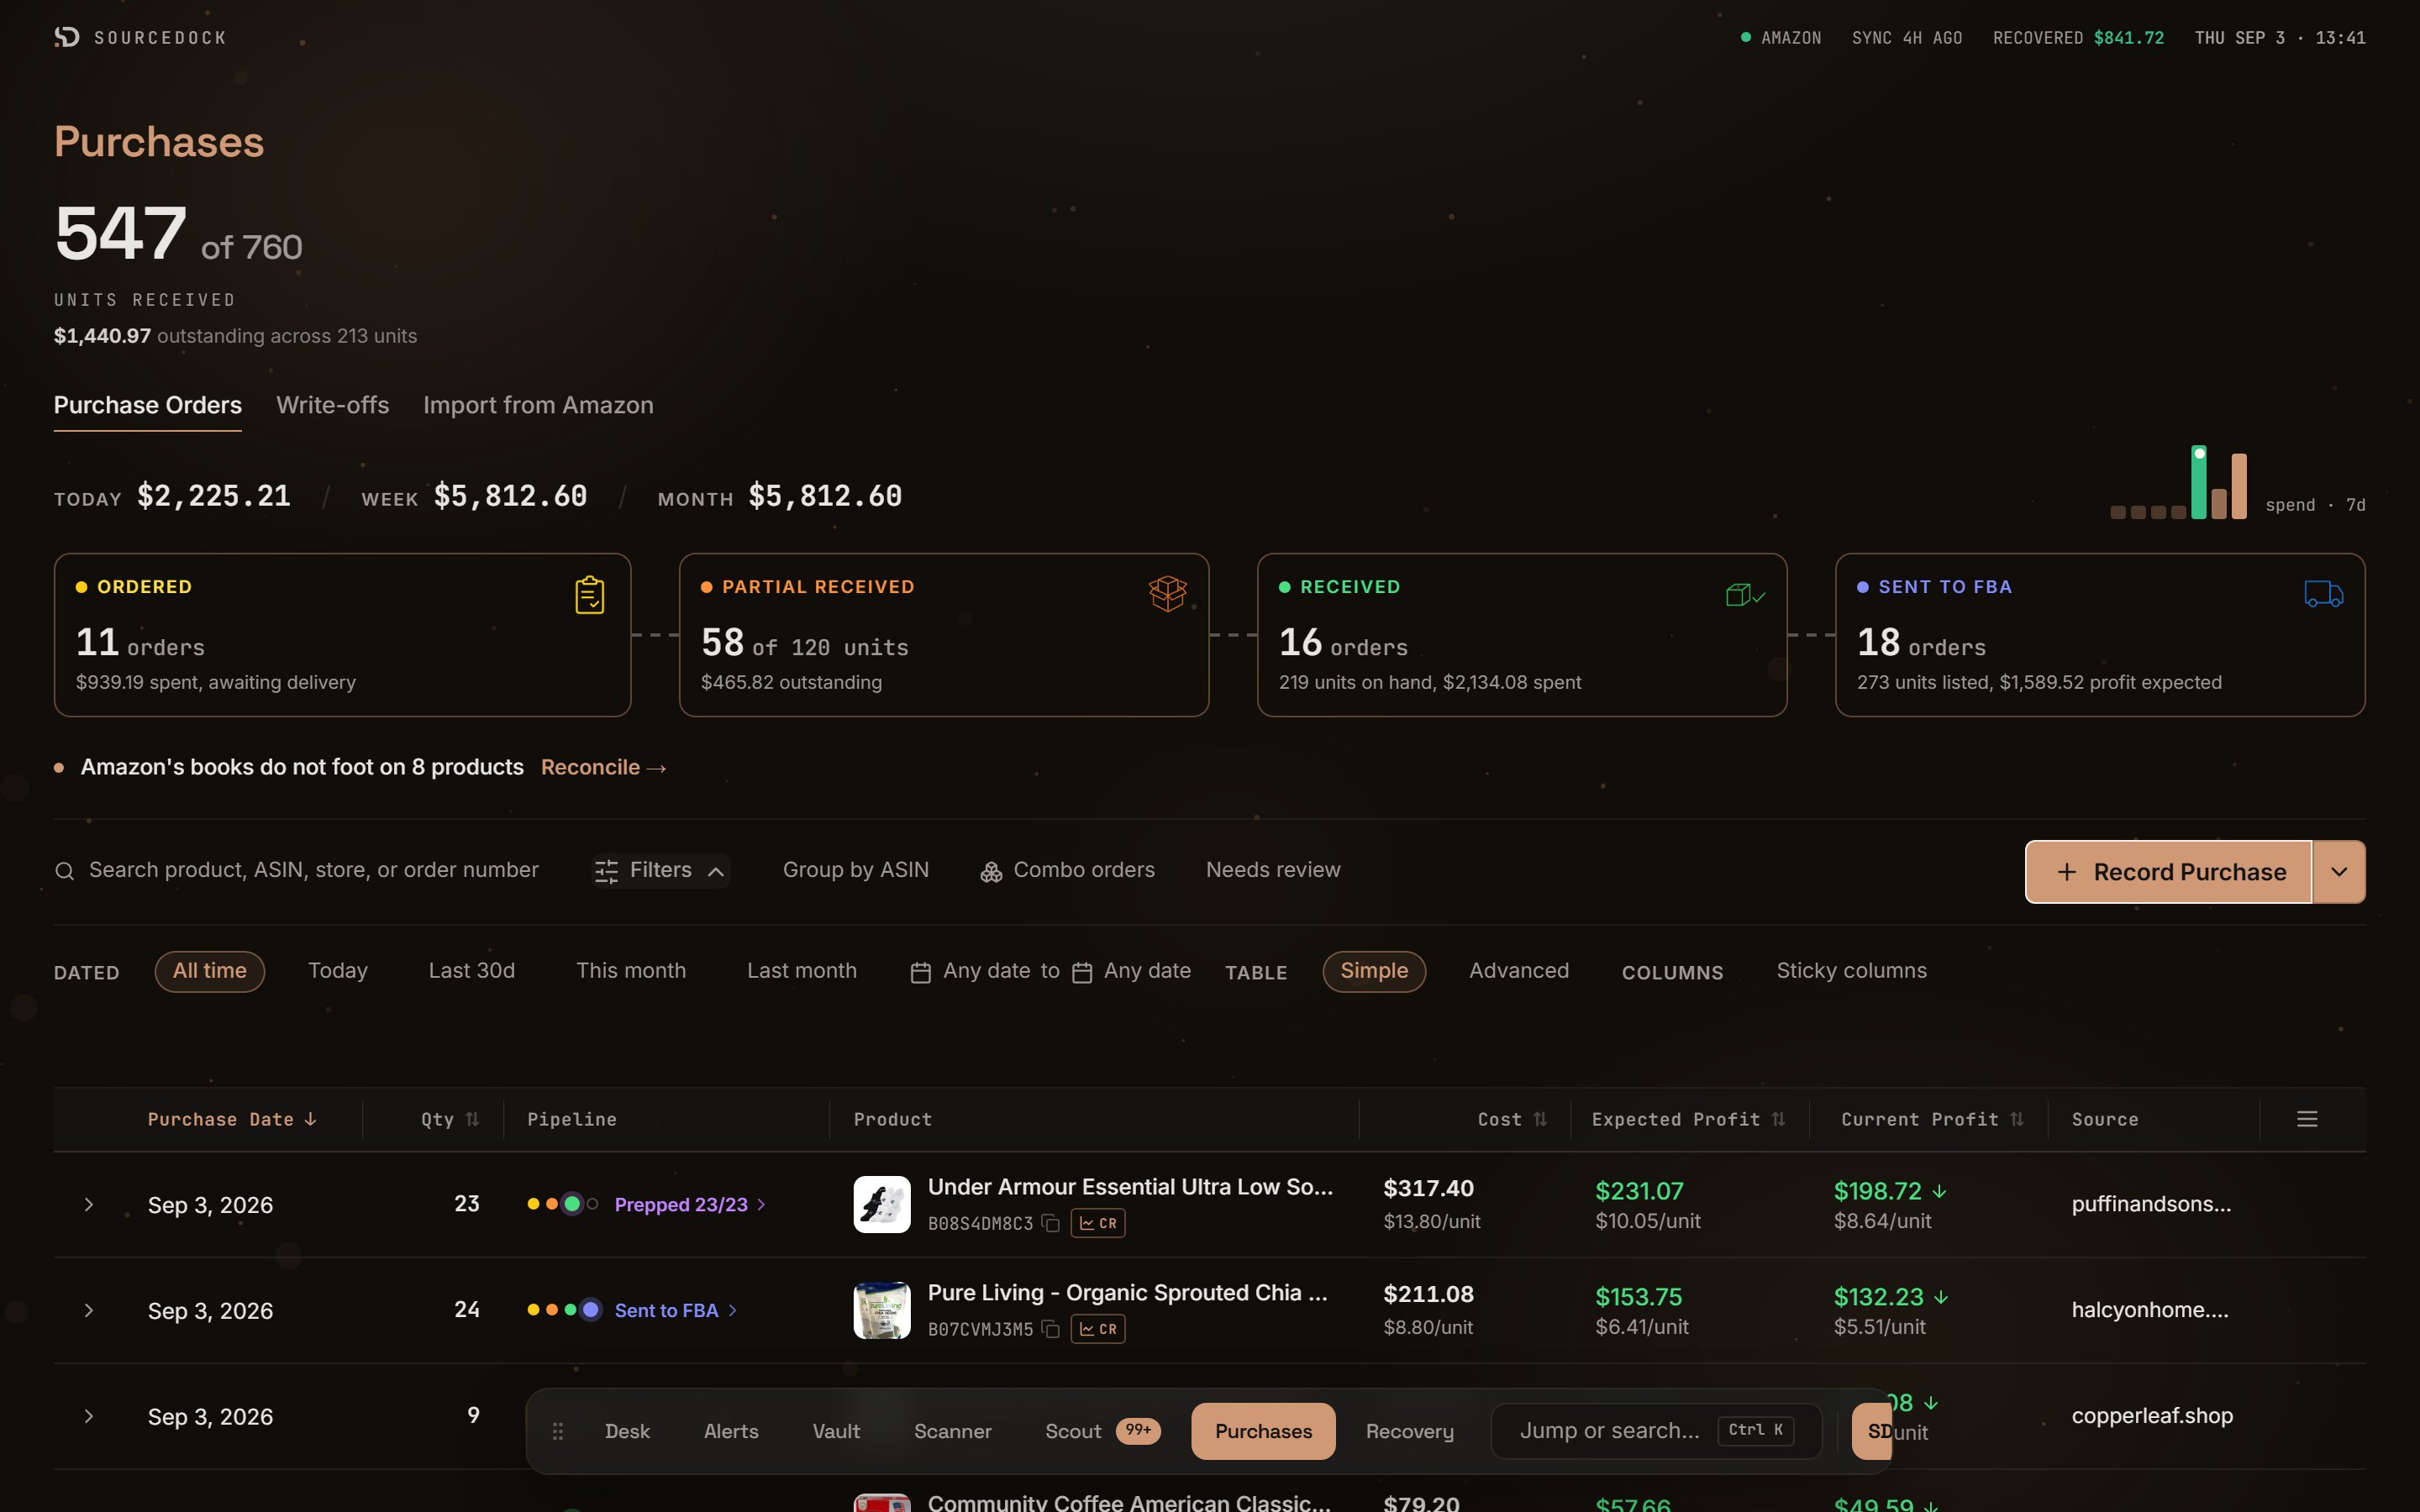
The filter panel
Reconcile and uncounted units
Two banners can sit above the table.The classic layout
Add?classic=1 to the page address for the classic table. Add ?ops=1 to go back.
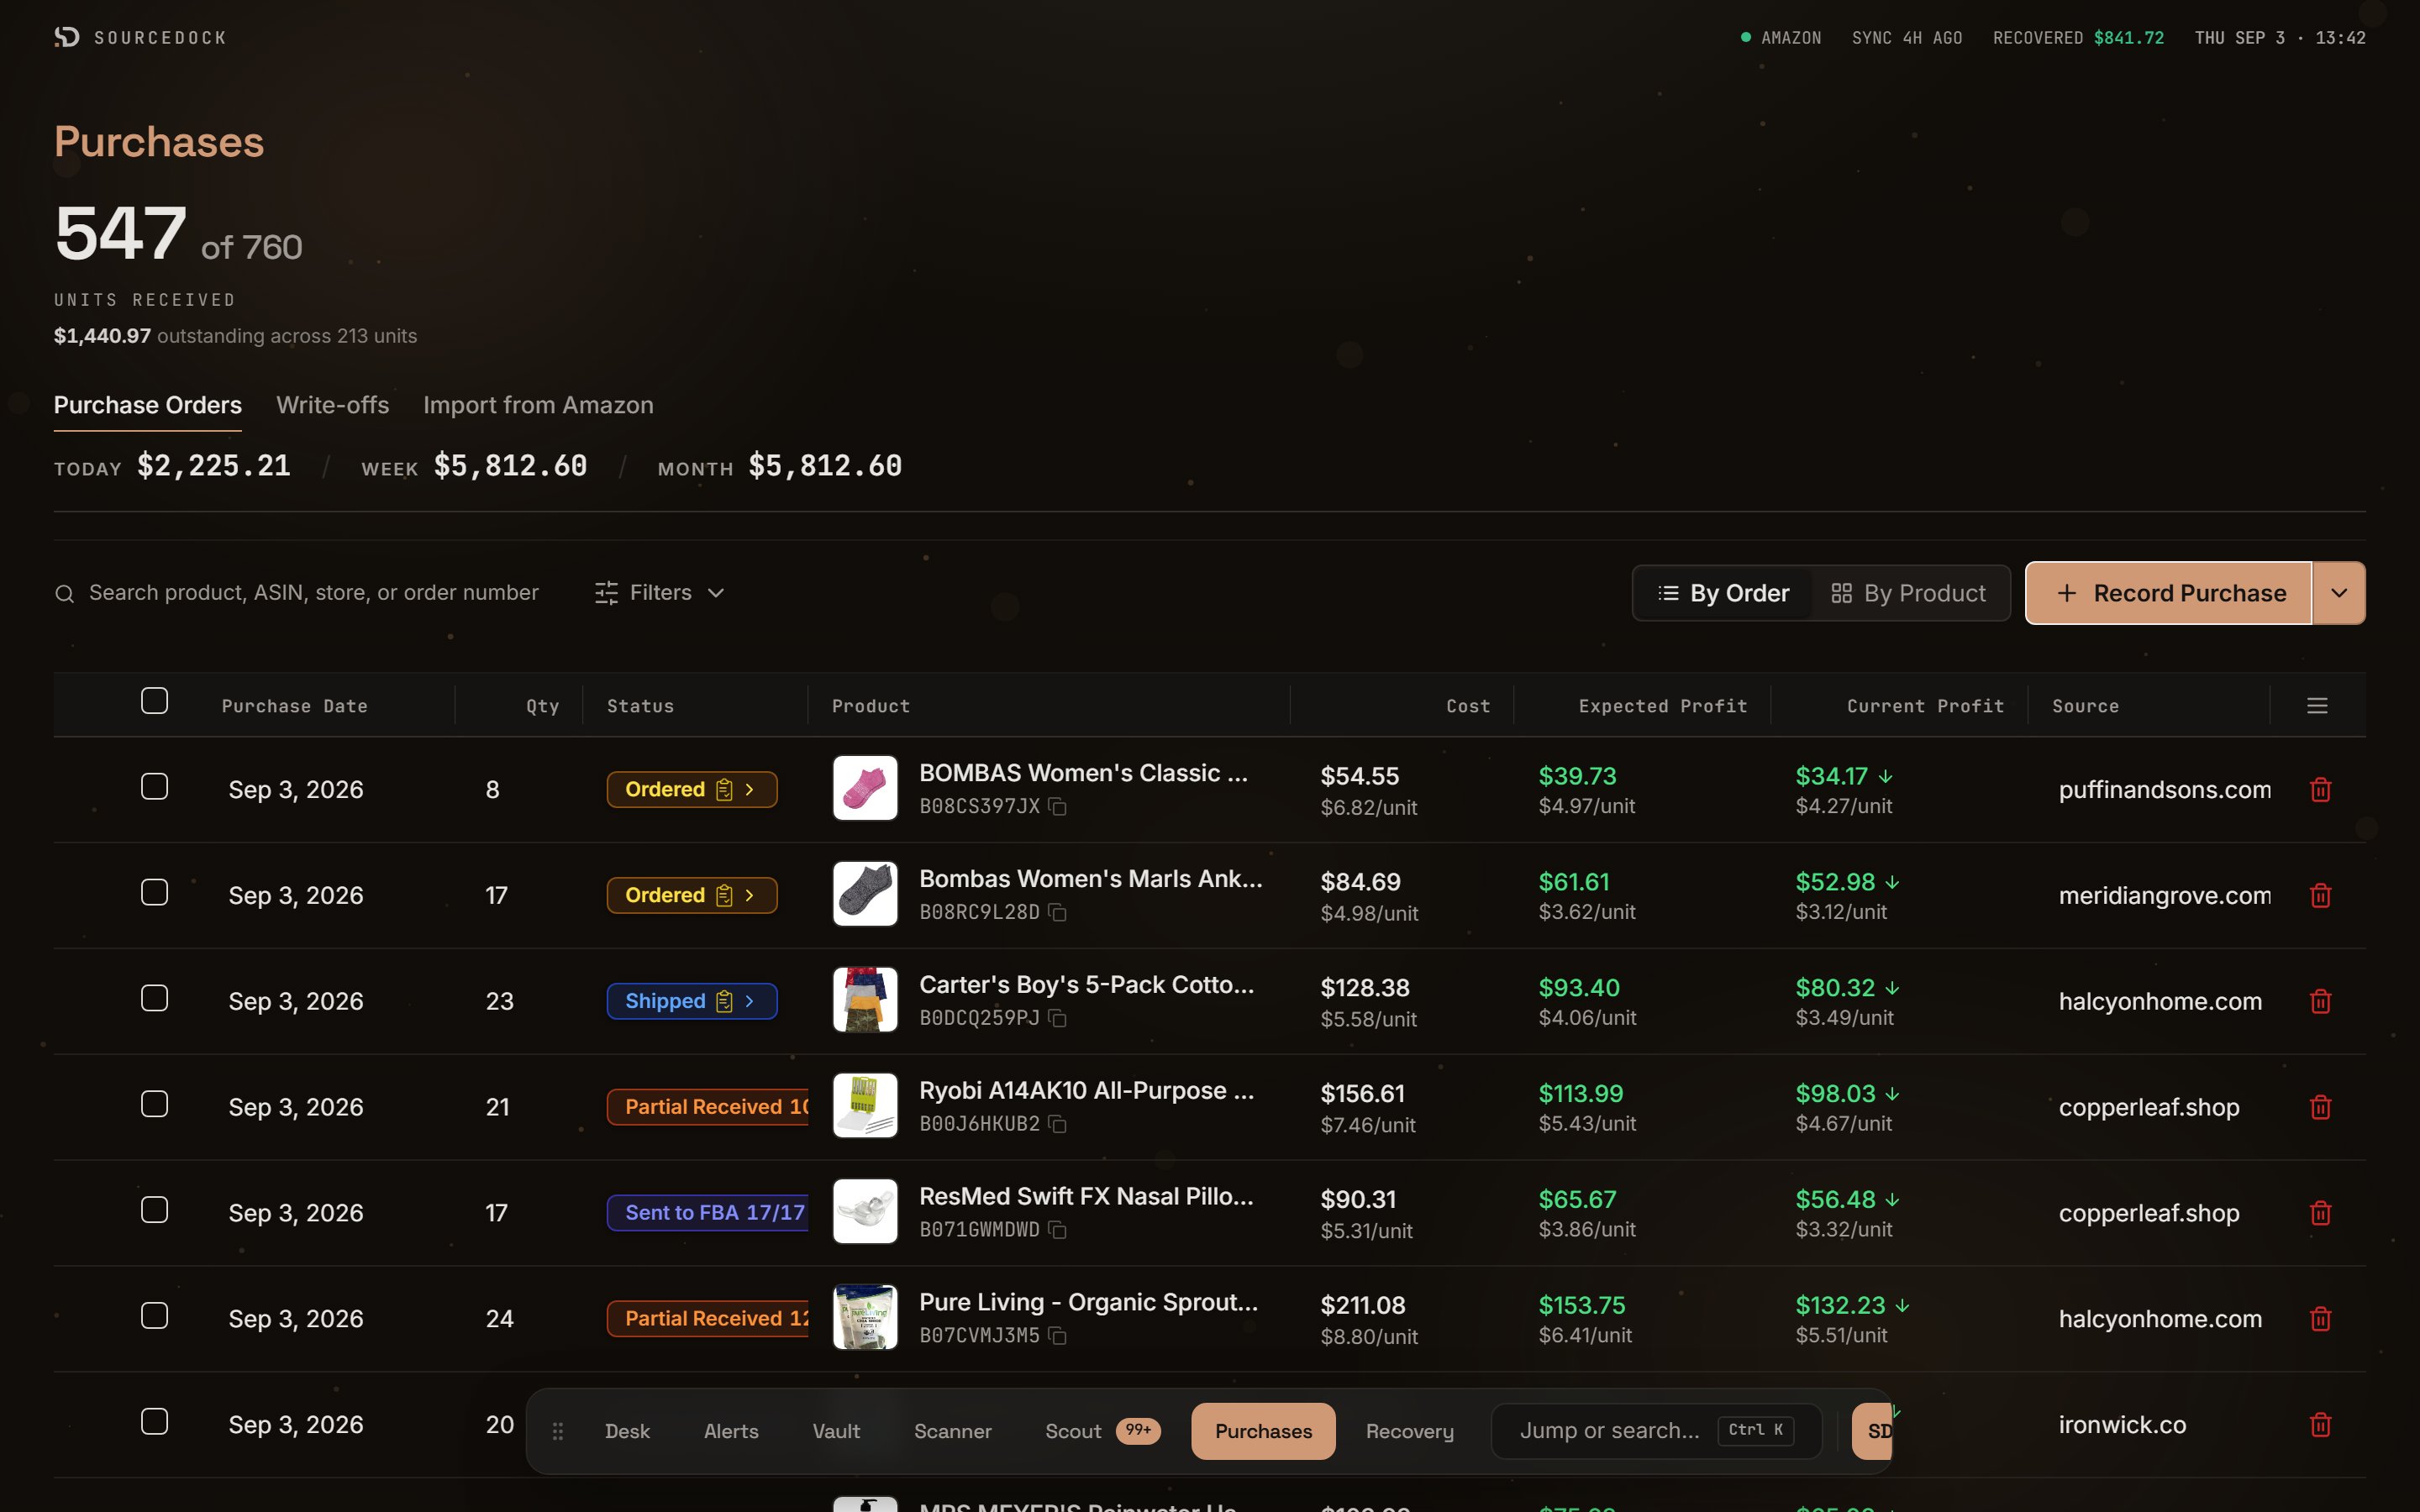
The classic layout
Deleting is permanent. The linked prospects go back to active. Orders with synced Amazon recovery history are kept on the first pass. A second dialog asks if you want to destroy that history too.
Write-offs tab
This tab is the shortfall ledger. It lists every unit that never became sellable stock on the store side. Columns are Date, Product, What happened, Units, Cost, Refunded, and Net loss. A Total row sums the bottom. You can remove a row you added by mistake.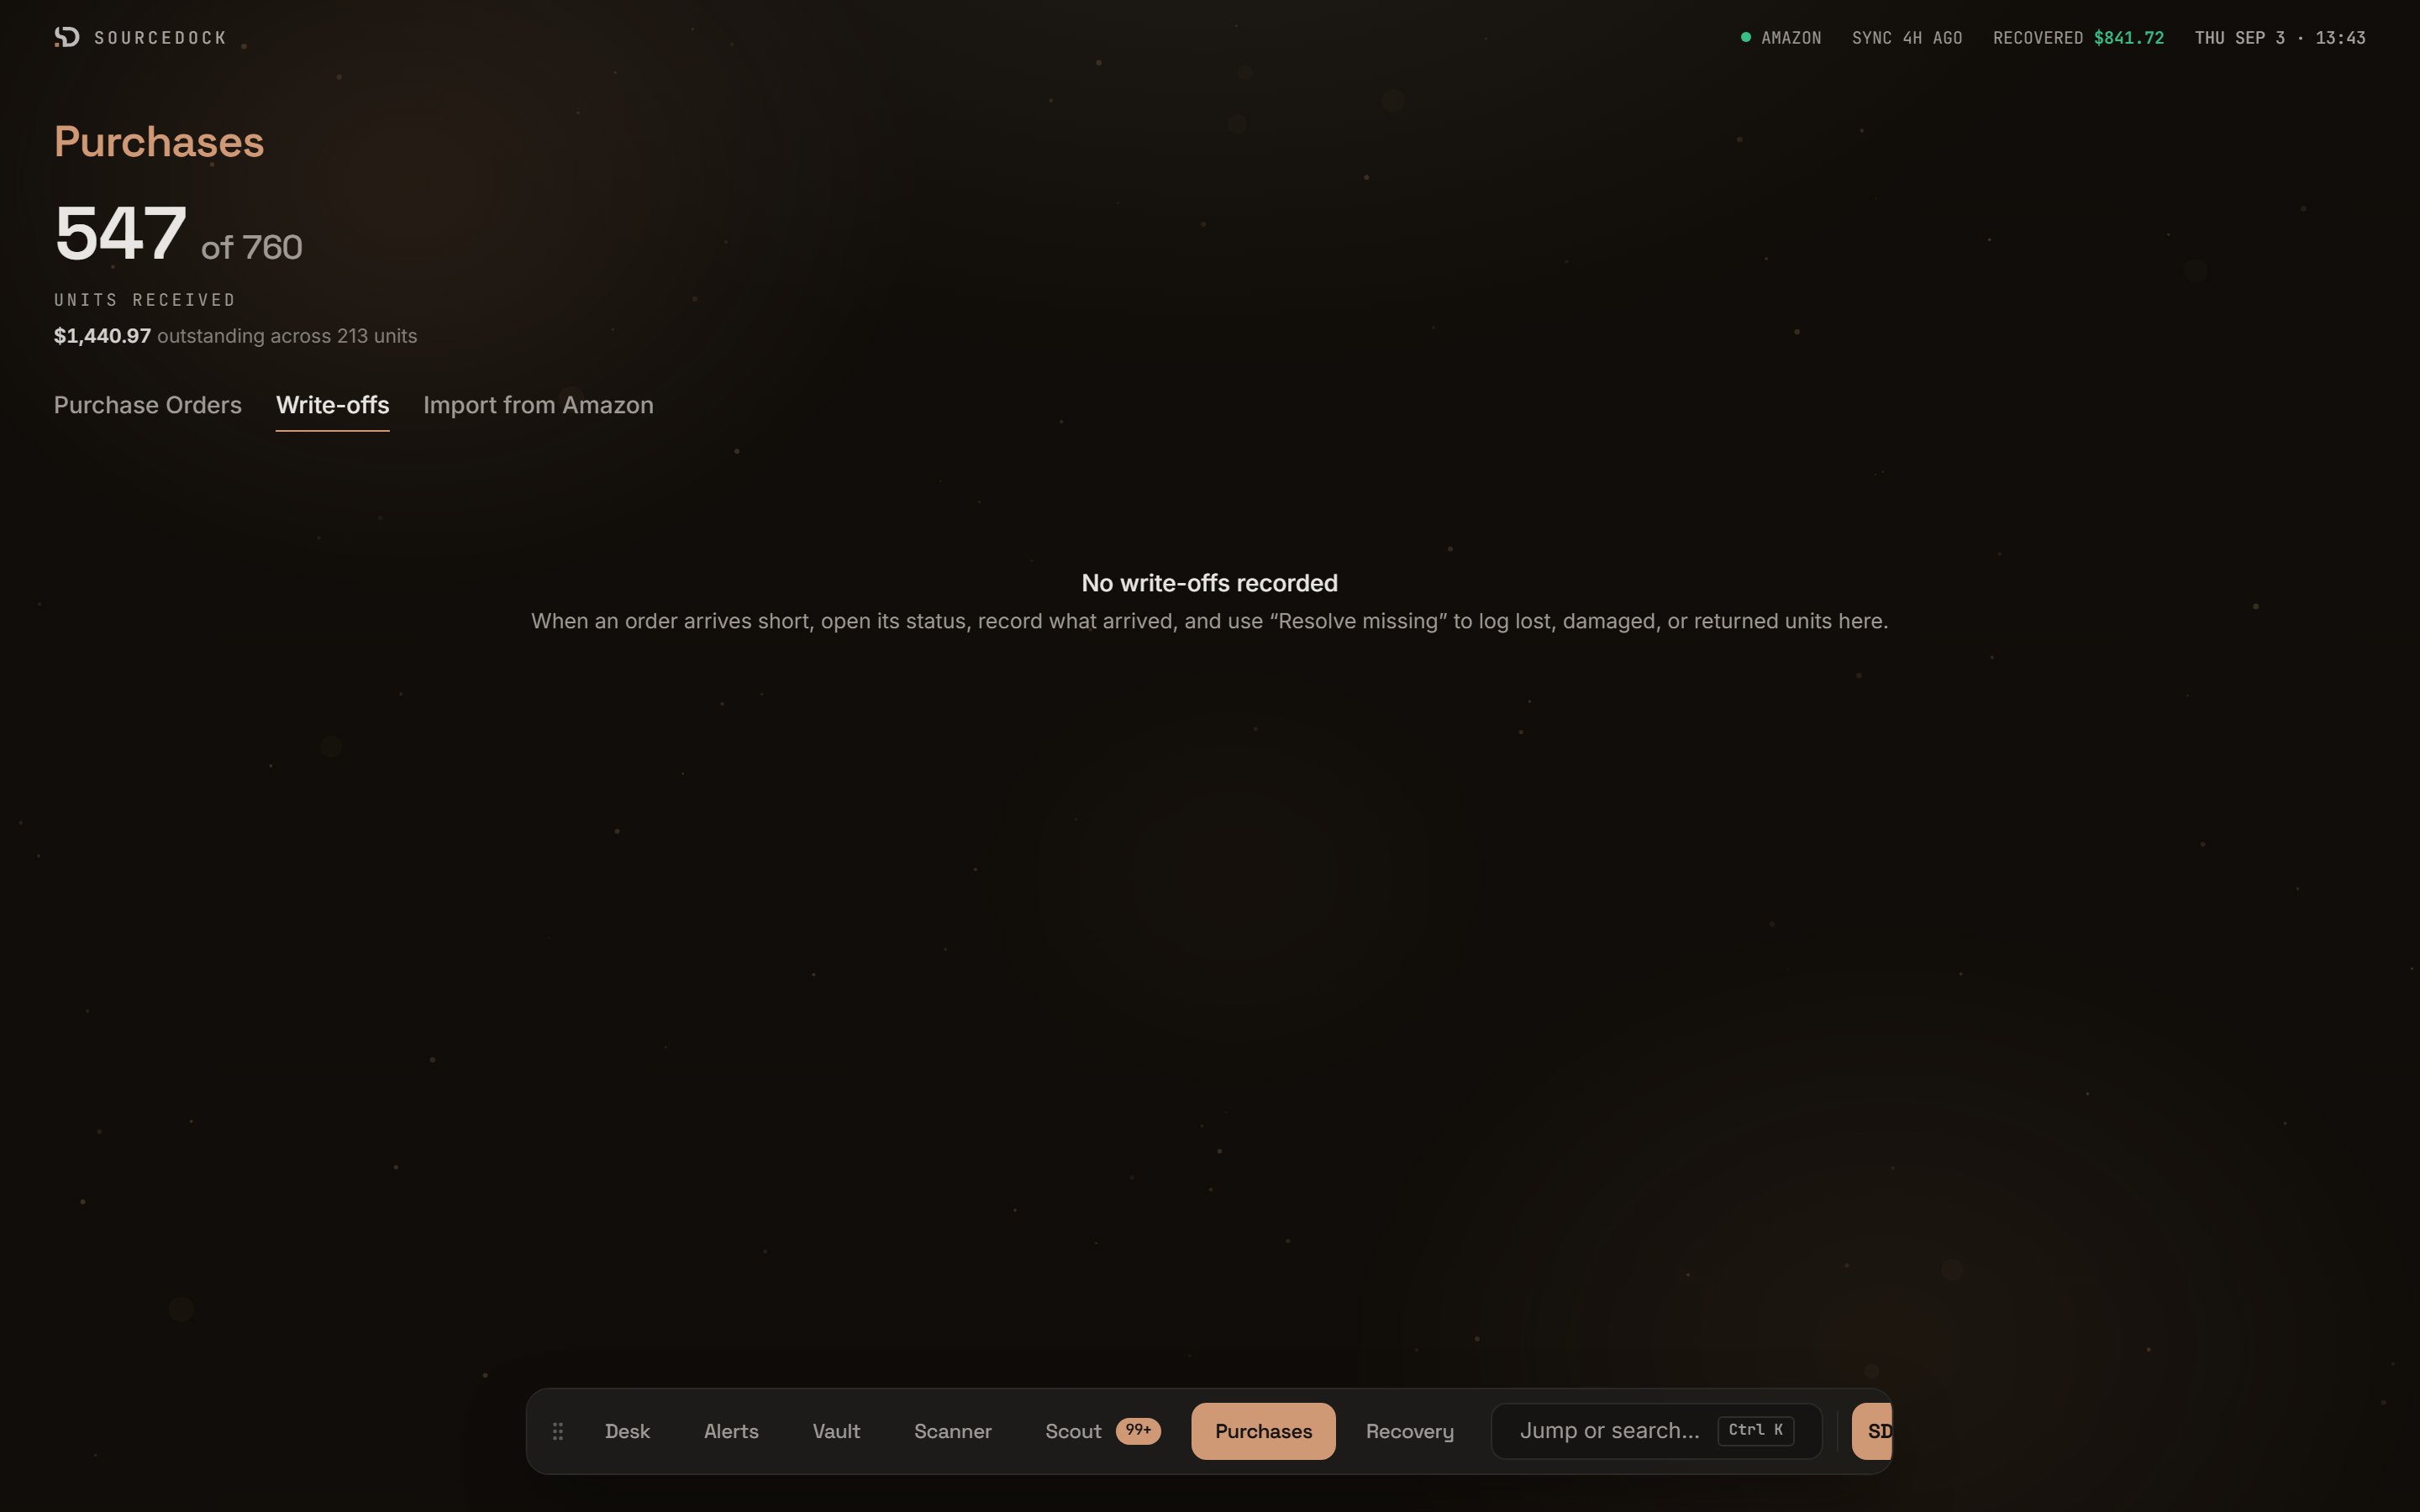
The Write-offs tab
Import from Amazon tab
This tab pulls your Amazon sales history so you do not type old orders by hand.1
Scan
Click Scan my Amazon history. You need a connected Amazon seller first. The scan looks back about 24 months and can take a few minutes. You can leave and come back.
2
Review candidates
Each product Amazon knows about is a row. Amazon fills in what it knows. You type the quantity you bought, the landed unit cost, and the purchase date. A row needs all three. The quantity must be at least the number Amazon shows as sold.
3
Skip or restore
Click Skip on a row you do not want. It gets a Skipped badge and hides unless you tick Include skipped items. Click Restore to bring it back. A row that already matches a purchase shows In Purchases. An imported row shows Imported.
4
Import
Tick the rows you want and click Import selected. A dialog shows the count and total cost. Click Confirm. The new purchases go to Purchase Orders and Capital Recovery.
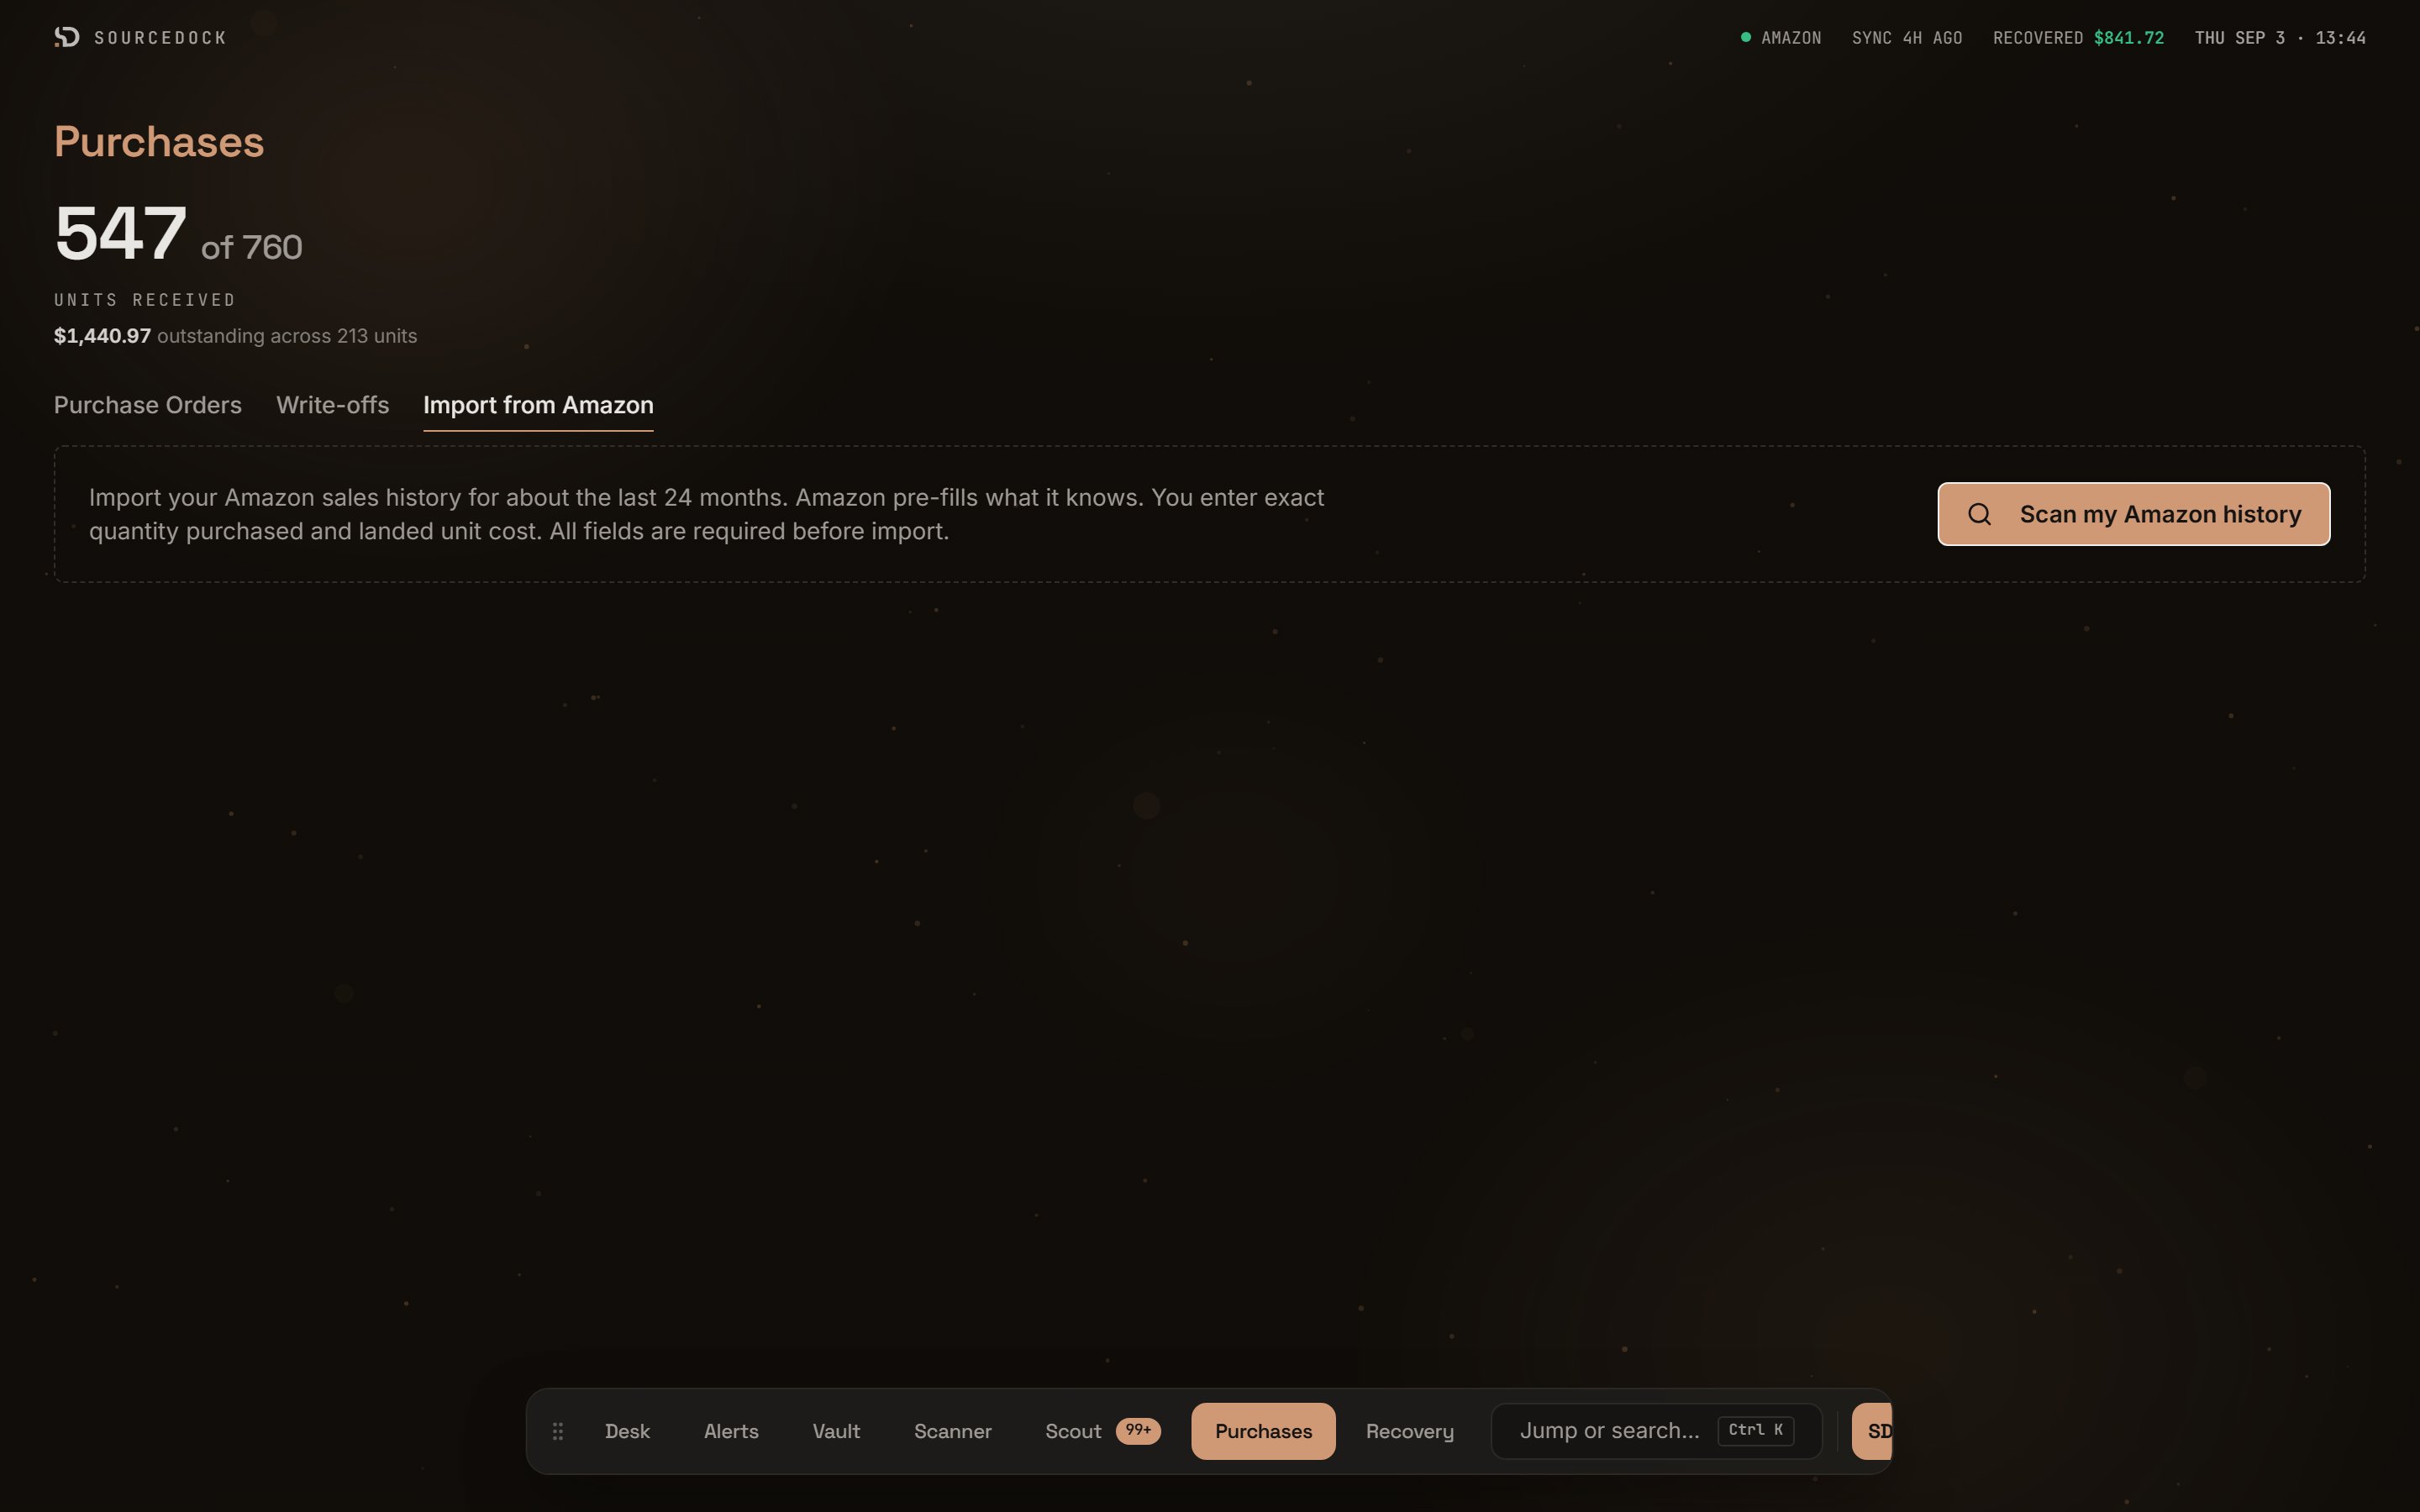
Import from Amazon