

In short
Say you want every order from Toy Barn that still needs a cost. Type “Toy Barn” in Search product, ASIN, store, or order number, then click Cost needed. The row under the search has the filters you use most. Filters has the rest. The x beside it clears them all.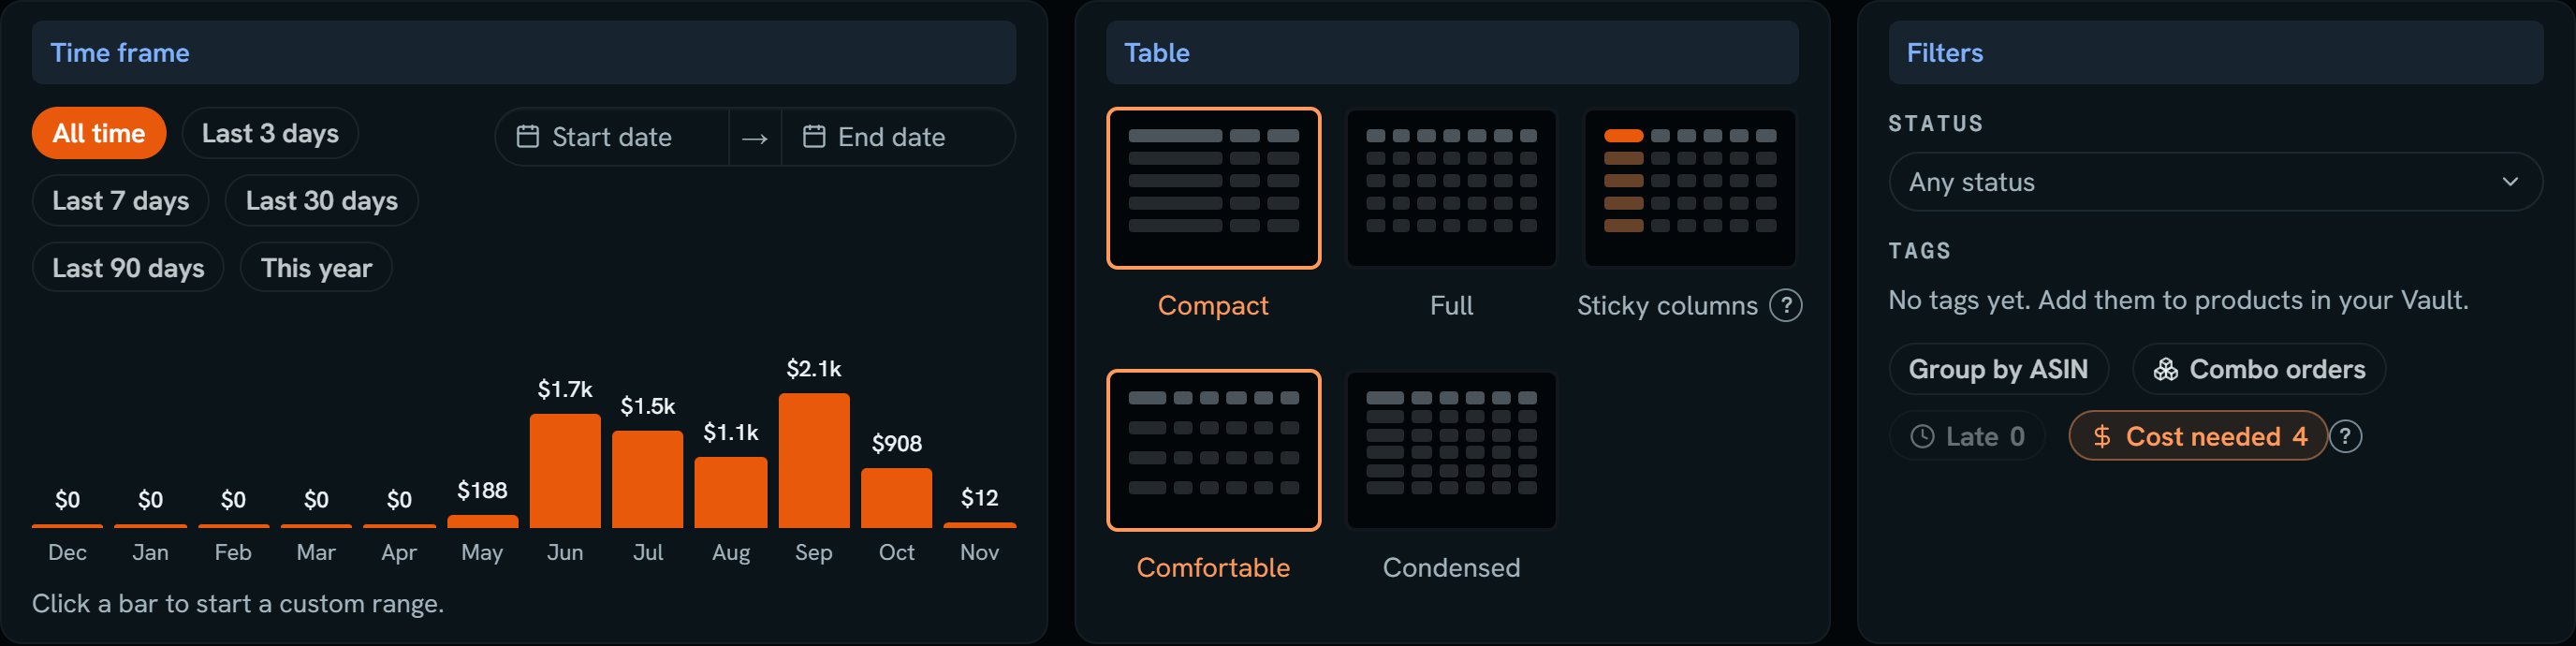
Whole demo store: Filters open. Notice Status starts at Any status, and Cost needed shows 4.
More details
Search
Search
Search finds cancelled orders too. On a narrow screen, the box says Search.
The filters
The filters
- Group by ASIN: one row per product. See One order’s row.
- Combo orders: checkouts with more than one product.
- Cost needed: orders that still need a buy cost. Click Add cost on a row.
- Time frame: All time, Last 3 days, Last 7 days, Last 30 days, Last 90 days, This year, or your own start and end dates.
- Status: starts at Any status. Pick one or more, or Cancelled with Refunded, Partial refund, Waiting for refund, and No refund.
- Late: only the late orders, with how many beside it, like Late 3. With none, it’s greyed out. It turns off when you leave the page.
- Tags: pick one or more of your Vault tags to see the purchases with any of them. It starts on All tags. With no tags yet, it says No tags yet. Add them to products in your Vault.
Cost needed
Cost needed
Cost needed stays while some row needs a cost, or while you leave the list on. Its count reads like “1 purchase · 20 units need a cost”. Those purchases have no cost yet, so their money isn’t counted. The banner says: Type each cost in the table below, or upload your buy sheet to fill many at once. At zero it says Every purchase has a cost now.
The Table box
The Table box
- Compact or Full. Full adds the Sent to Amazon and Amazon Received columns.
- Sticky columns keeps the first columns in view while you scroll sideways.
- Comfortable is the starting choice. Condensed puts the rows closer together, with the same text size. The choice is for every table at once, and it’s saved with your login. In the phone app, it stays under the table.
Arrange the columns
Arrange the columns
The three bars at the end of the column titles open Columns.
- Tick a box to show a column. It shows right away.
- Type over a name to rename the column.
- Drag the dots to move it.
- Click Save to keep the new names and places.